

How to create an eCommerce website using WooCommerce
Are you looking to create an eCommerce website to boost your online sales? We know that designing and building an eCommerce website can be quite terrifying, especially if you are not very techy or have specific requirements to customise your website.
Well, the good news is that you’ve reached the right place. Since the Covid-19 pandemic, we’ve helped many NZ businesses to create their online store. So we know exactly what designs and features an eCommerce website needs to capture the attention of site visitors and provide them with a user-friendly customer journey.
Our website team highly recommend you to use WordPress as the content management to create an eCommerce website. WordPress allows you to personalise your website with preset themes or custom codes. Plus, it features many plugins that help to streamline the online shopping experience from inventory and ordering to payment and shipping. Best of all, as a business owner, you can easily update and change the content and products on your website.
Below we’ve put together the most comprehensive guide on creating an eCommerce website using WordPress and WooCommerce.
- Register a domain name
- Choose a hosting provider
- Install WooCommerce plugin
- Add in your products
- Choose a theme for your eCommerce store
- Install additional plugins
- Optimise your eCommerce store
- Publish your site

1. Register a domain name
The first step of creating a website is to choose a domain name. Your domain name is your unique website address or URL. E.g., our website’s domain name is kwd.co.nz. You can buy your domain name at Crazy Domain Names or Freeparking.
Brainstorm carefully before you purchase a domain name. We always recommend using your brand name in your domain name so your customers can easily find you online. If you have a long brand name, consider keeping it short and memorable. Once you’ve purchased a domain, it’s only available for one year. So don’t forget to renew it next year!
2. Choose a hosting provider
Next, you need to find a hosting provider where you can host your website on the internet. By hosting with a dedicated hosting provider, like WPEngine, you can be assured that your website will load faster and avoid long periods of downtime.
3. Install WooCommerce plugin
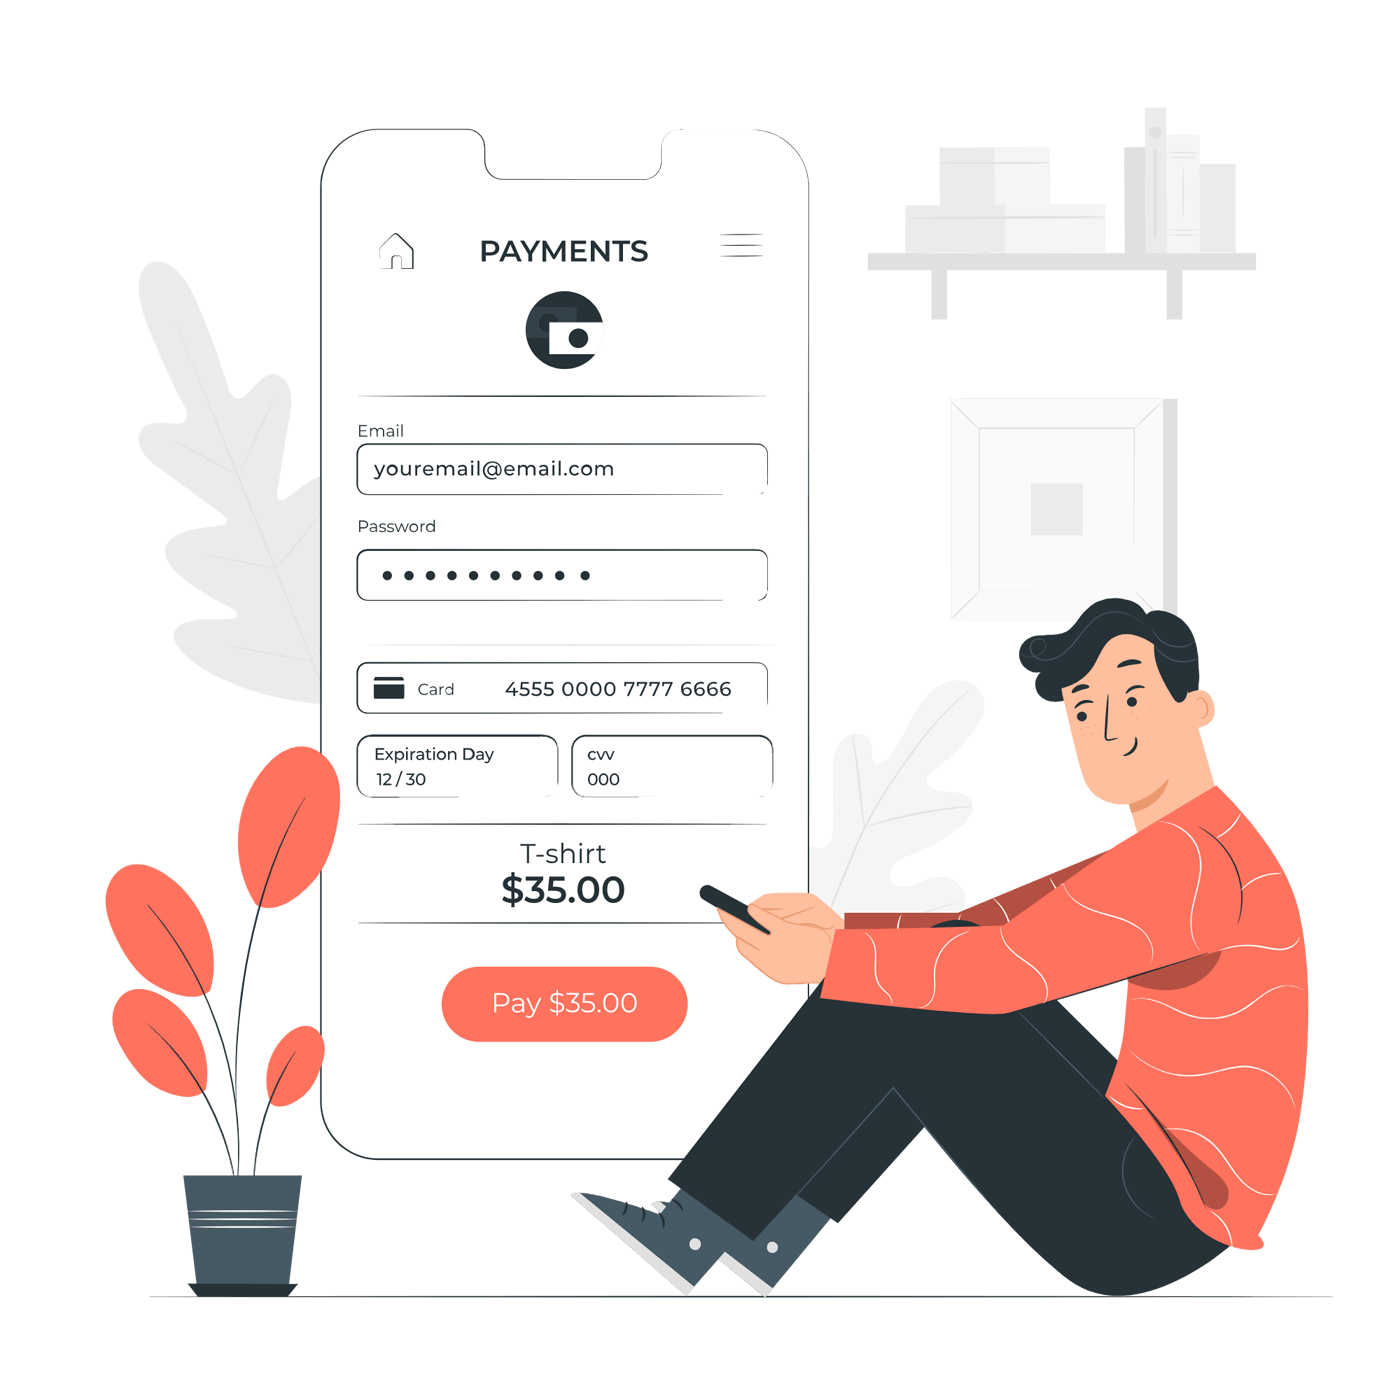
In order for your website to be able to sell products and provide a smooth online shopping experience, you need to install WooCommerce as the eCommerce plugin. WooCommerce offers all the features you need so that you can add product pages, product types, a shopping cart, secured checkout, and retail store details (if you have one).
4. Add in your products

Now that you have your WooCommerce setup, you can start adding the products you want to sell. For every product, make sure you provide a title and a catchy product description that helps your customers to make a purchase decision. Adding high-quality product images or videos also allow your customers to visualise your products without needing to visit your physical store.
5. Choose a theme for your eCommerce store
You need to decide how your online store looks to the customers when they visit. You can select from hundreds of free and paid WordPress themes if you just want a simple looking website. But, if you’re going to make your website stand out from the competition and reflect your branding, then you should consider partnering with a professional website designer to create a custom eCommerce store tailored to your requirements.
6. Install additional plugins
One of the reasons why WordPress and WooCommerce are so popular is because they feature many free and premium plugins that you can add to extend the functionality of your website. With the abundance of choice, which one should you choose?
Our KWD website developers highly recommend that you should add payment gateways, shipping extensions, marketing tools such as Hubspot or Mailchimp, booking plugins, and contact forms.
7. Optimise your eCommerce store
Before you launch your eCommerce store, you need to optimise the site so it can be easily found by customers searching in Google and it is mobile-friendly.
You can install SEO plugins like Yoast to help you optimise your website or seek the help of SEO experts. SEO experts can help you improve your website’s organic ranking in search engines and rank for competitive keywords that are relevant to your product offerings.
A free tip from our SEO content writers is to use relevant keywords in your page title, meta descriptions, product title and description, so search engines can easily index your website to the right searches.
As more and more online shoppers browse the internet on their mobile devices, it’s imperative that your website offers an optimised mobile experience with an intuitive UI and smooth transaction. However, this requires the work of an experienced website developer if you aren’t tech-savvy or already have a website developer.
8. Publish your site
Before you launch your website, make sure you test and test again on your website’s features as if you are your customers, from adding a product to the shopping cart to checking out and shipping the orders.
Make sure you can receive the orders on the admin side and that the money is processed through to your bank account.
If everything looks good, then you are ready to launch and start selling. Usually, it takes about 24-48 hours for your site to come live.
Create your eCommerce website today!
And there you have it! The 8 simple steps to create your online store in WordPress with WooCommerce.
Don’t forget to optimise your product pages to rank higher organically and regularly update your content to encourage conversions!
If you would like more information from highly qualified web designers and developers about how to create a custom eCommerce that help you sell more products and generate more sales, then contact our KWD team today and make a free 15 minutes consultation.
Comments are closed.